注釈
Go to the end をクリックすると完全なサンプルコードをダウンロードできます.
Eye Dome Lighting#
Eye‐Dome Lighting (EDL) は,科学的可視化画像における奥行き知覚を改善するために設計された非フォトリアリスティック,画像ベースシェーディングテクニックです.詳しくは this blog post をご覧ください.
from __future__ import annotations

import pyvista as pv
from pyvista import examples
像#
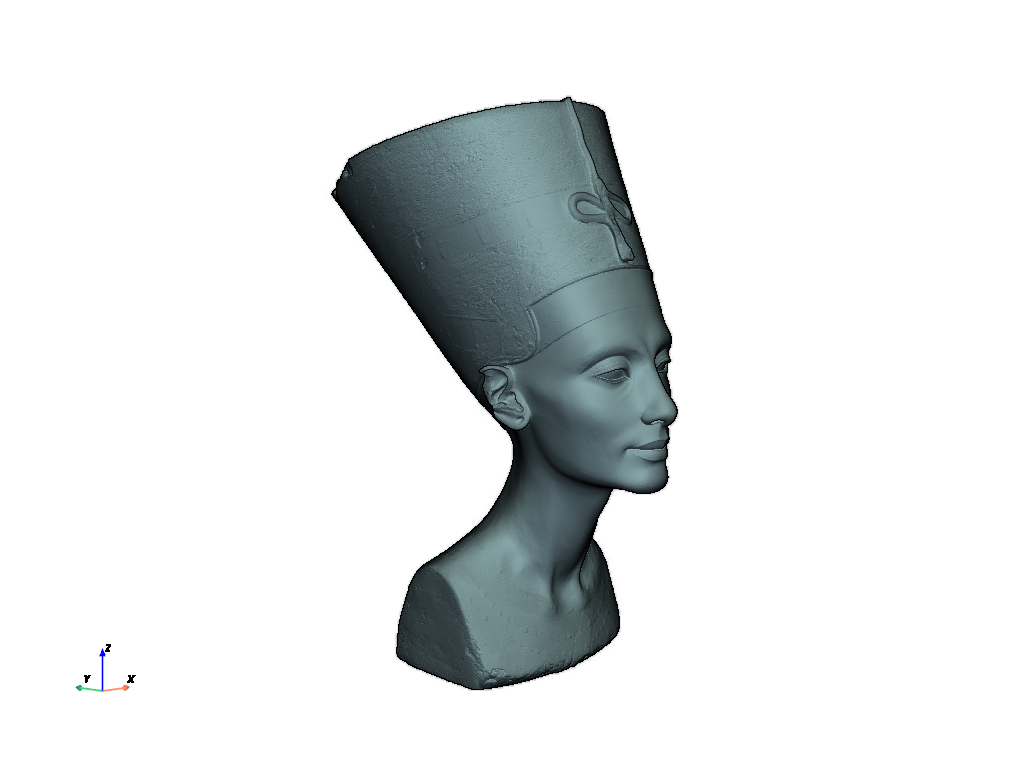
Eye-Dome Lightingは,クリエイティブ・コモンズのNefertiti女王像のような非常に洗練されたメッシュを描画するときに,奥行きの知覚を劇的に向上させることができます.
nefertiti = examples.download_nefertiti()
nefertiti.plot(eye_dome_lighting=True, cpos=[-1, -1, 0.2], color=True)
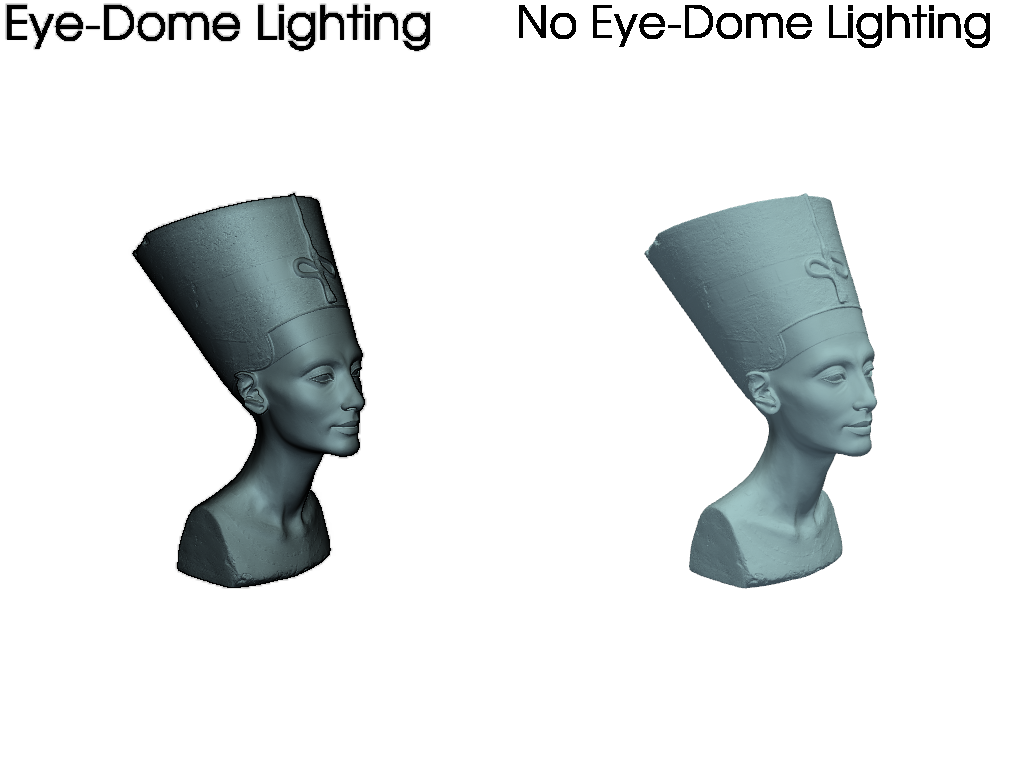
ここでは,EDLシェーディングと通常のシェーディングを並べて比較します.
p = pv.Plotter(shape=(1, 2), border=False)

# With eye-dome lighting
p.subplot(0, 0)
p.add_mesh(nefertiti, color=True)
p.enable_eye_dome_lighting()
p.add_text('Eye-Dome Lighting', font_size=24)
p.camera_position = [-1, -1, 0.2]

# No eye-dome lighting
p.subplot(0, 1)
p.add_mesh(nefertiti, color=True)
p.add_text('No Eye-Dome Lighting', font_size=24)
p.camera_position = [-1, -1, 0.2]

p.show()
点群#
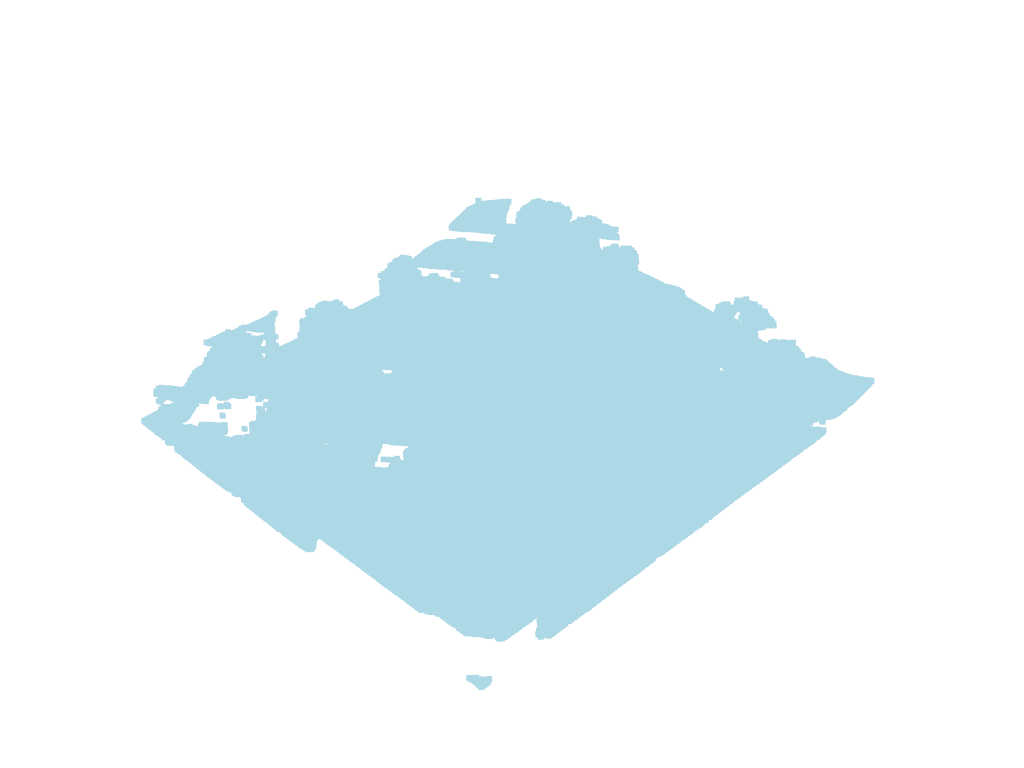
単純な点群を印刷する場合,深さを認識するのが難しいことがあります.このライダーポイントクラウドを例にとってみましょう.
point_cloud = examples.download_lidar()
次に,この点群をそのままプロットします:
# Plot a typical point cloud with no EDL
p = pv.Plotter()
p.add_mesh(point_cloud, color='lightblue', point_size=5)
p.show()
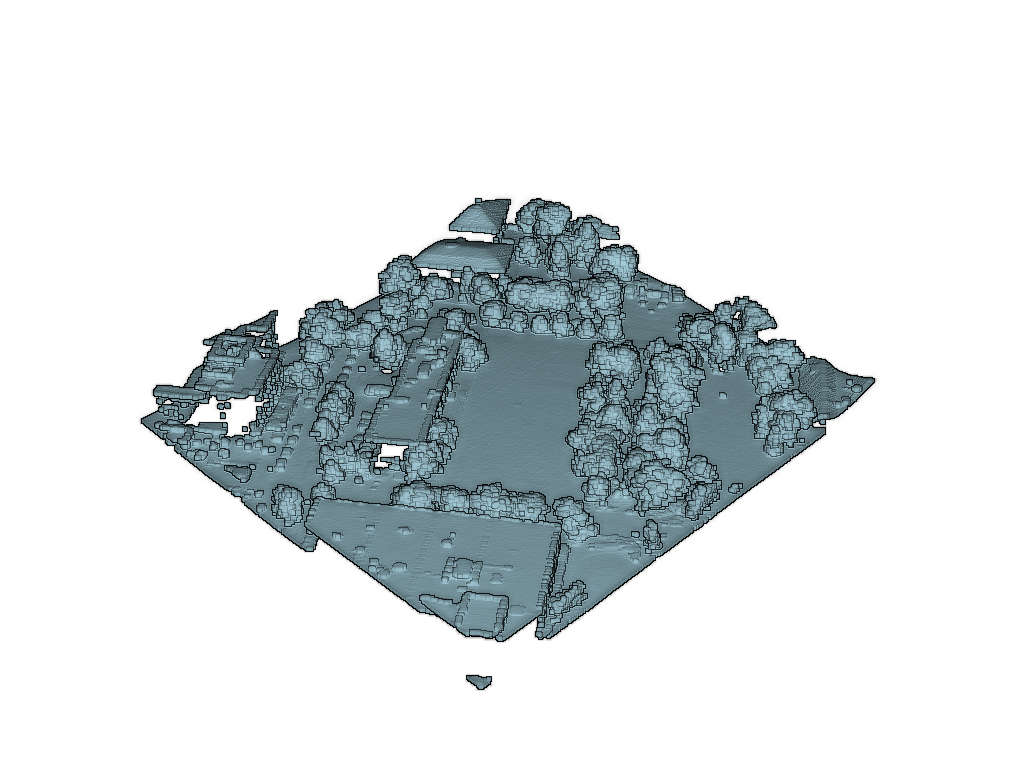
pyvista.Renderer.enable_eye_dome_lighting() を使用してレンダラーで目のドーム照明を有効にすることで,深度マッピングを改善できます.
# Plot with EDL
p = pv.Plotter()
p.add_mesh(point_cloud, color='lightblue', point_size=5)
p.enable_eye_dome_lighting()
p.show()
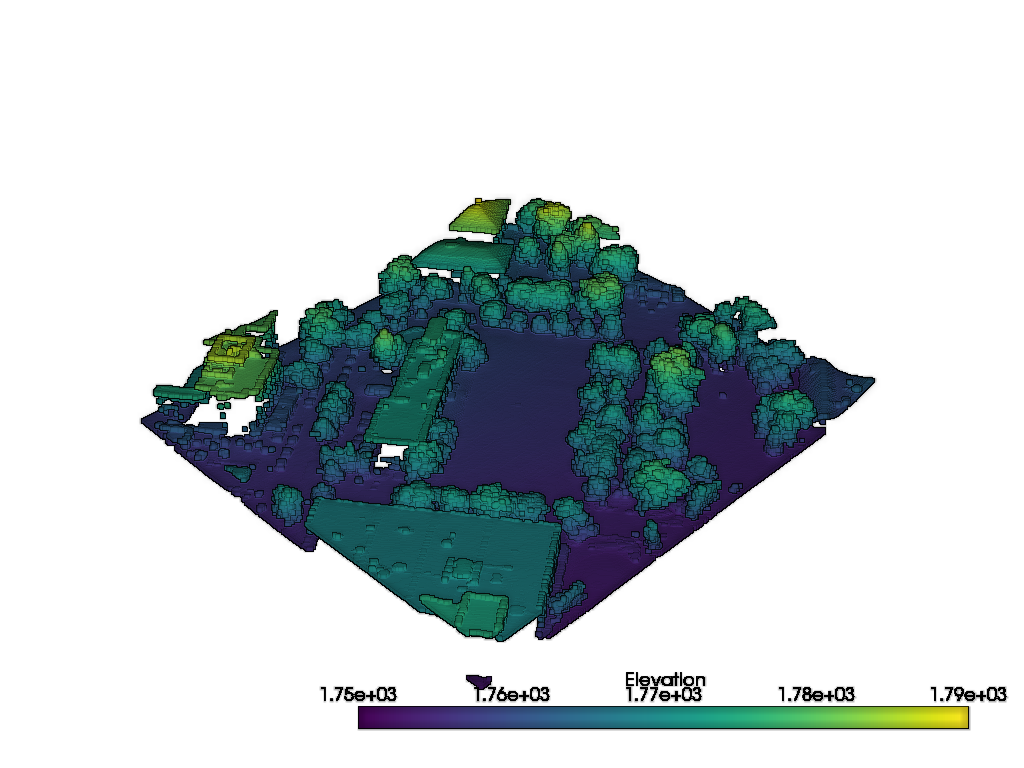
Eye Dome Lightingモードでは,スカラー配列のプロットも処理できます.
# Plot with EDL and scalar data
p = pv.Plotter()
p.add_mesh(point_cloud, scalars='Elevation', point_size=5)
p.enable_eye_dome_lighting()
p.show()
Total running time of the script: (1 minutes 11.799 seconds)