注釈
Go to the end をクリックすると完全なサンプルコードをダウンロードできます.
スライシング#
ボリュームから薄い平面スライスを抽出します.
from __future__ import annotations

import matplotlib.pyplot as plt
import numpy as np

import pyvista as pv
from pyvista import examples
PyVistaメッシュには,すべてのデータセットに直接バインドされた複数のスライシングフィルタがあります.これらのフィルタを使用すると,ボリュームデータセットをスライスして,データのボリュームからセクションを抽出して表示できます.
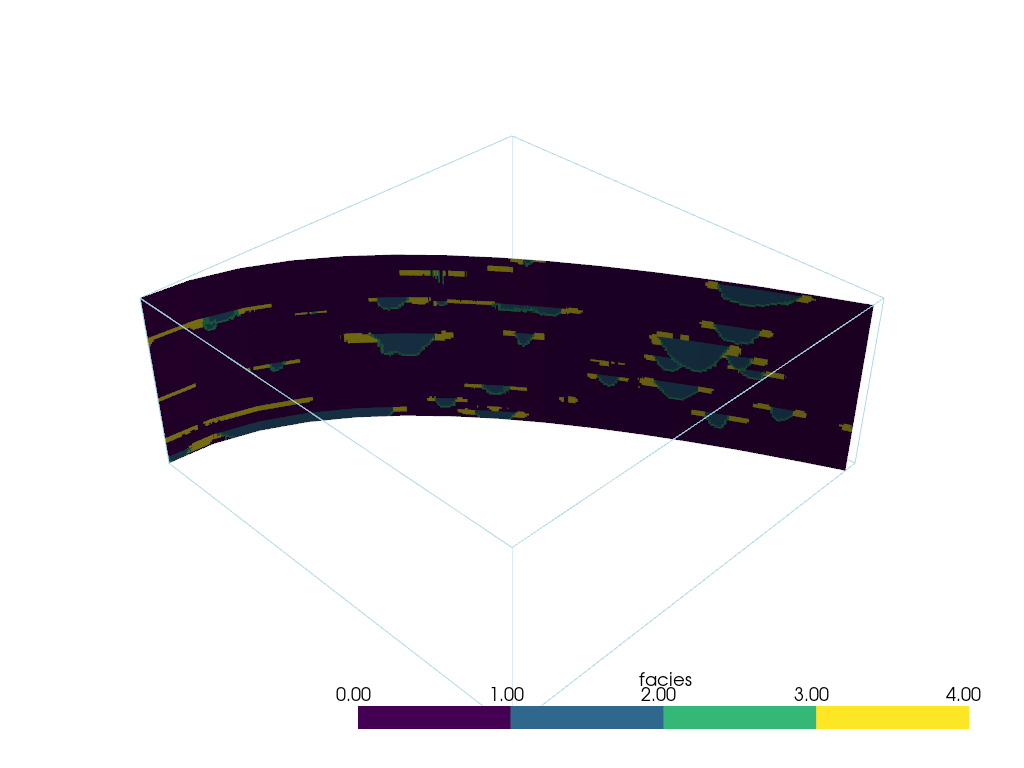
PyVistaで使用される最も一般的なスライシングフィルタの1つは, 3つの直交面に平行なデータセットを通して3つの直交スライスを生成する pyvista.DataSetFilters.slice_orthogonal() フィルタです.たとえば,サンプルの地理統計トレーニングイメージボリュームをスライスしてみましょう.まず,ボリュームをロードしてプレビューします.
mesh = examples.load_channels()
# define a categorical colormap
cmap = plt.get_cmap('viridis', 4)

mesh.plot(cmap=cmap)
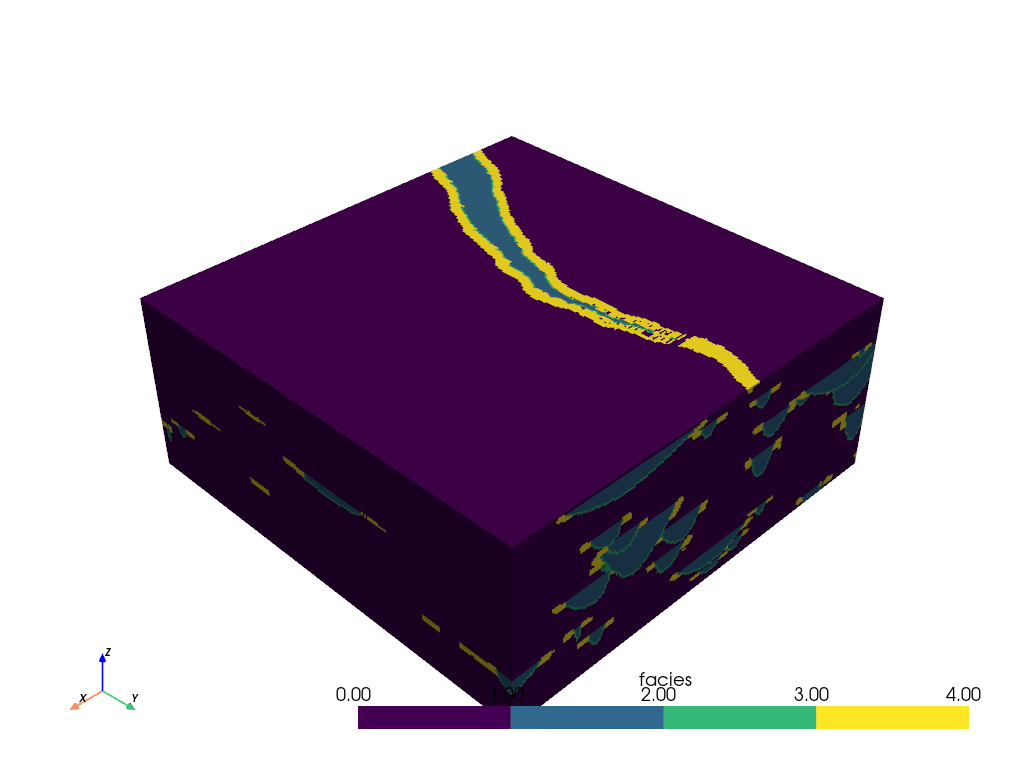
このデータセットは3 Dボリュームであり,このボリューム内に検査したい領域がある場合があります.メッシュを使用してスライスを作成し,ボリュームの内部についてさらに詳しく調べることができます.
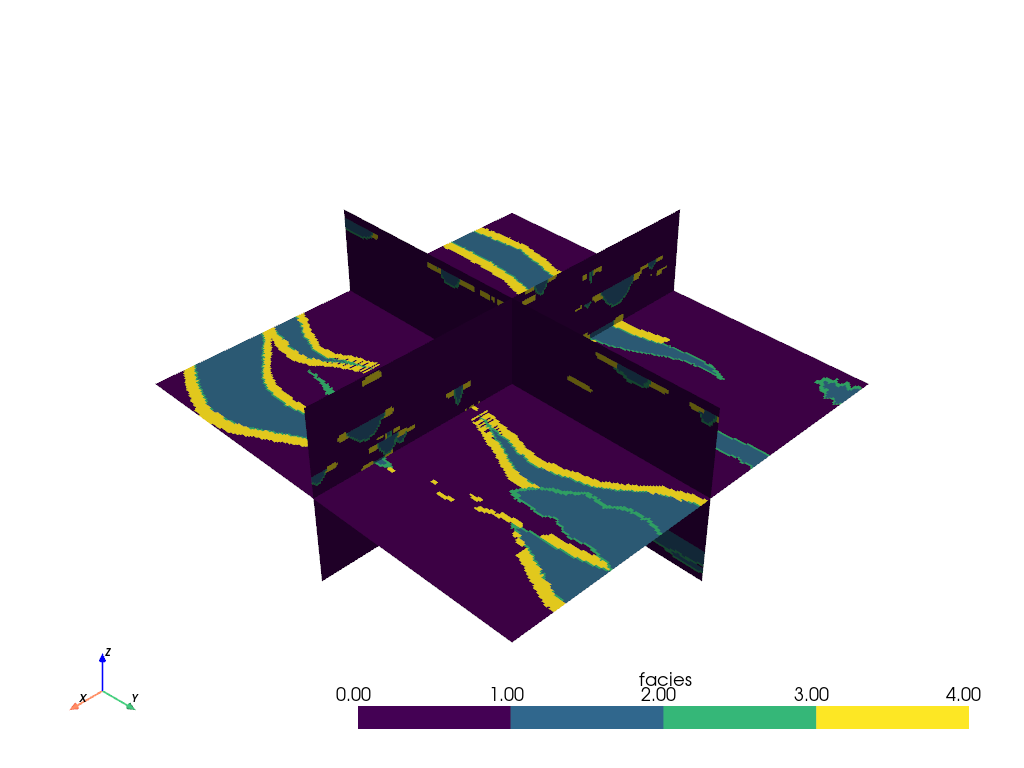
直交スライスは,ボリューム全体で簡単に変換できます:
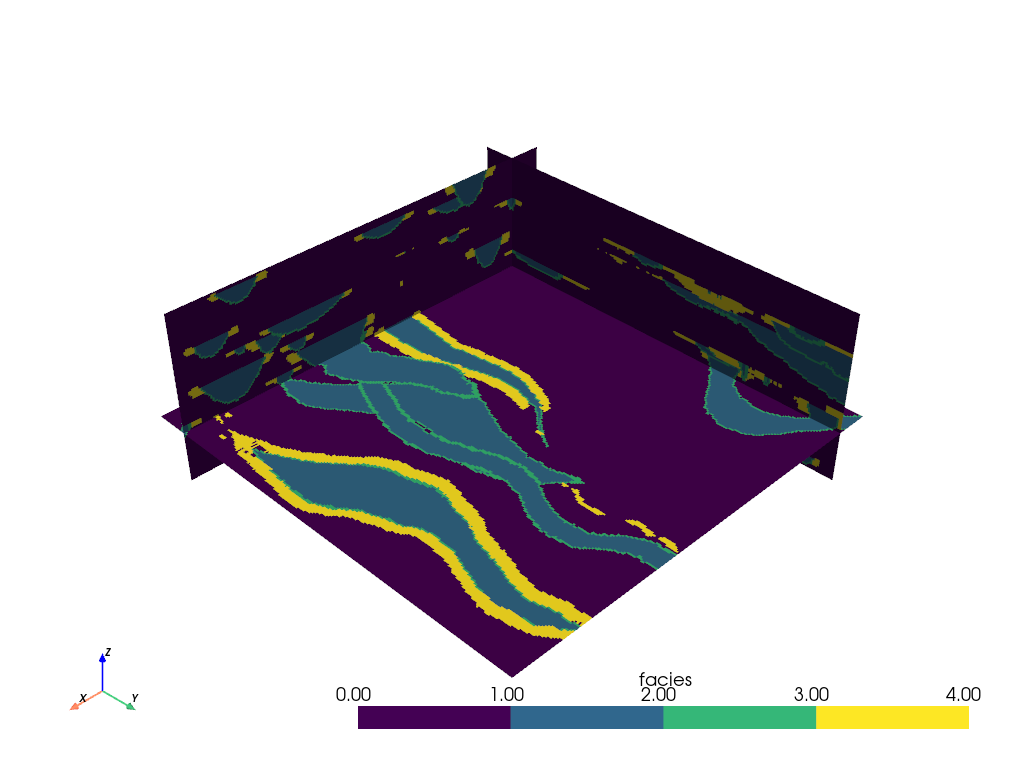
pyvista.DataSetFilters.slice() フィルタでスライス平面の原点と法線を指定することで,ボリュームの単一スライスを追加することもできます.
軸方向に均一にスライス平面を追加することも, pyvista.DataSetFilters.slice_along_axis() フィルタを使用して自動化できます.

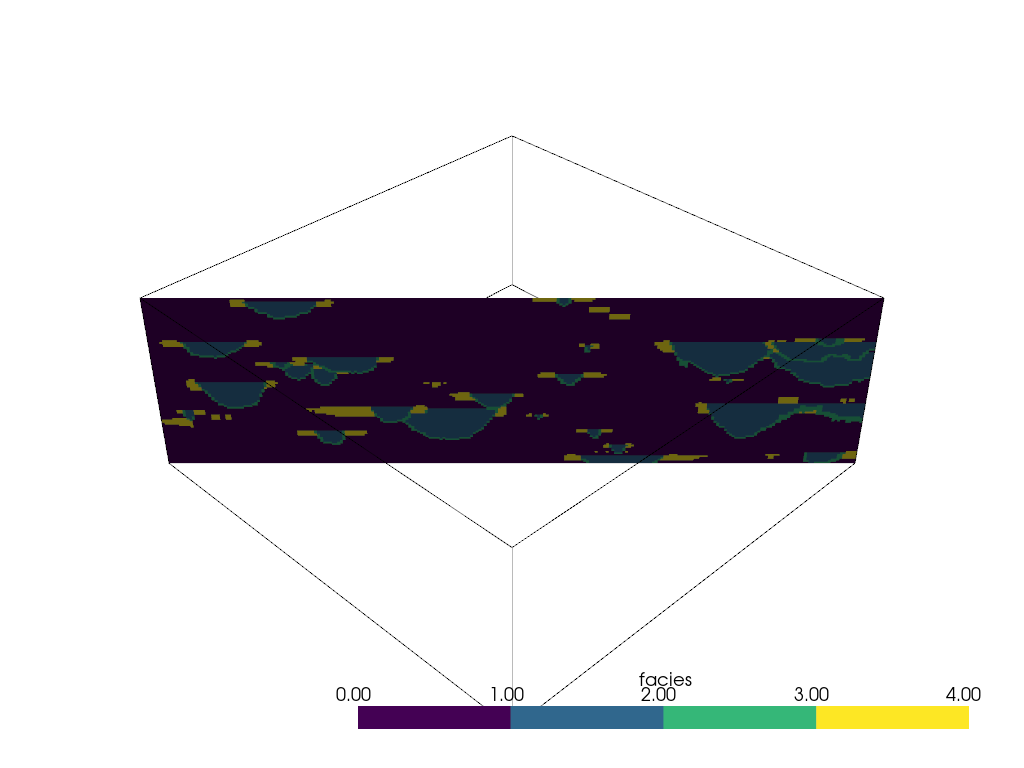
線分に沿ってスライス#
pyvista.DataSetFilters.slice_along_line() フィルタを用いて pyvista.Spline() または pyvista.Line() に沿ってデータセットをスライスすることもできる.
最初に,対象のデータセットを使用して線のソースを定義します.このタイプのスライスは計算コストが高く,線に多くの点がある場合は時間がかかることに注意してください.線の解像度を低くしてください.
model = examples.load_channels()


def path(y):
    """Equation: x = a(y-h)^2 + k"""
    a = 110.0 / 160.0**2
    x = a * y**2 + 0.0
    return x, y


x, y = path(np.arange(model.bounds.y_min, model.bounds.y_max, 15.0))
zo = np.linspace(9.0, 11.0, num=len(y))
points = np.c_[x, y, zo]
spline = pv.Spline(points, 15)
spline
次に,フィルタを実行します.
slc = model.slice_along_line(spline)
slc
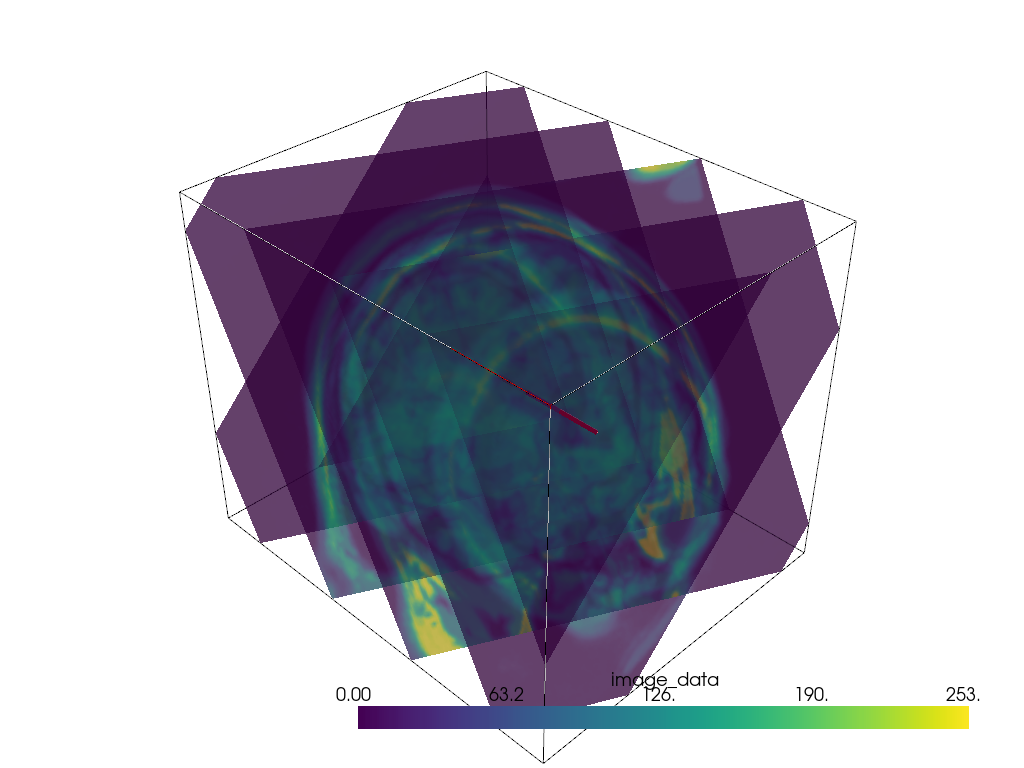
ベクトル方向の複数のスライス#
ベクトル方向に沿って垂直にメッシュをスライスします.
mesh = examples.download_brain()

# Create vector
vec = np.array([1.0, 2.0, 1.0])
# Normalize the vector
normal = vec / np.linalg.norm(vec)

# Make points along that vector for the extent of your slices
a = mesh.center + normal * mesh.length / 3.0
b = mesh.center - normal * mesh.length / 3.0

# Define the line/points for the slices
n_slices = 5
line = pv.Line(a, b, n_slices)

# Generate all of the slices
slices = pv.MultiBlock()
for point in line.points:
    slices.append(mesh.slice(normal=normal, origin=point))
p = pv.Plotter()
p.add_mesh(mesh.outline(), color='k')
p.add_mesh(slices, opacity=0.75)
p.add_mesh(line, color='red', line_width=5)
p.show()
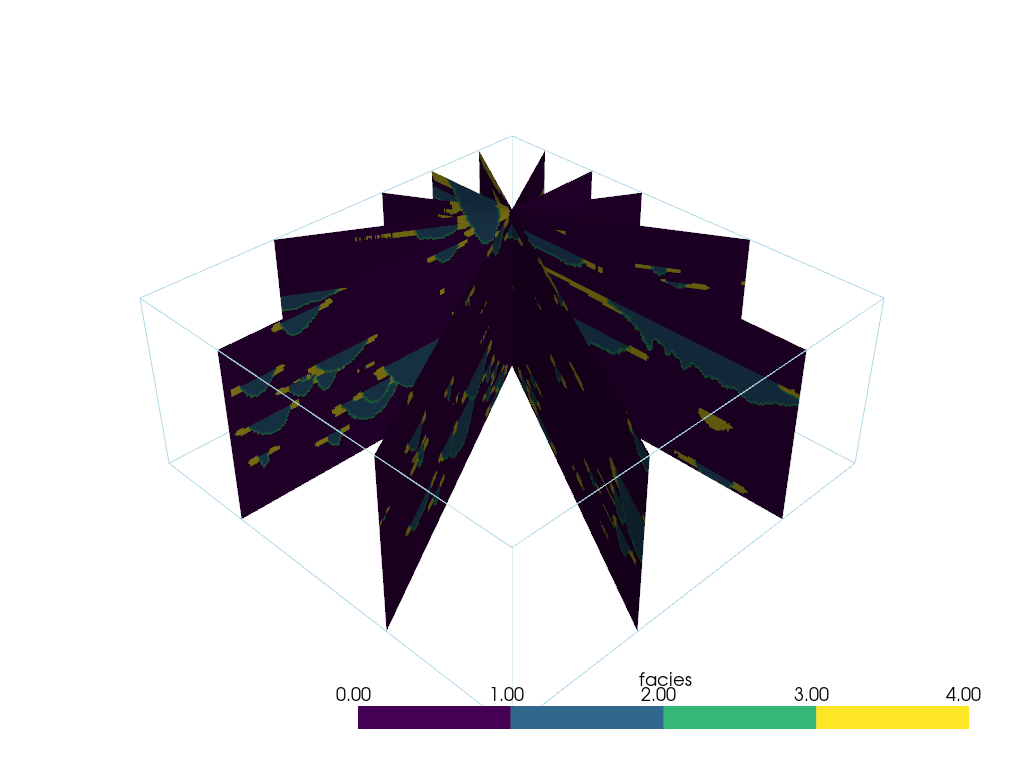
異なる軸受でスライス#
ユーザーが選択した位置を中心にして,さまざまな方位のスライスを多数作成する方法の例.
スライスを方向付けるポイントの作成
ここで,Z軸を中心にスライスを回転させる法線ベクトルをいくつか生成します.円はZ軸を中心としているため,円の計算式を使用します.
increment = np.pi / 6.0
# use a container to hold all the slices
slices = pv.MultiBlock()  # treat like a dictionary/list
for theta in np.arange(0, np.pi, increment):
    normal = np.array([np.cos(theta), np.sin(theta), 0.0]).dot(np.pi / 2.0)
    name = f'Bearing: {np.rad2deg(theta):.2f}'
    slices[name] = model.slice(origin=point, normal=normal)
slices
これを表示します.
Total running time of the script: (0 minutes 22.063 seconds)