注釈
Go to the end をクリックすると完全なサンプルコードをダウンロードできます.
サンプル関数:2DでのPerlinノイズ#
ここでは, pyvista.core.utilities.features.sample_function() を使用して領域上のPerlinノイズをサンプリングし,ランダムな地表を生成します.
Perlinノイズはグラデーションノイズの一種で,コンピュータグラフィックスのリアルな外観を向上させるために,ビジュアルエフェクトアーティストによってよく使用されます.ソース: Perlin Noise Wikipedia
Perlin Noiseの開発により,コンピュータグラフィックスアーティストは,映画業界の視覚効果における自然現象の複雑さをよりよく表現できるようになりました.
from __future__ import annotations

import pyvista as pv
StructuredGrid上にPerlinノイズを生成する#
freq の値を自由に変更して "山" の形を変えることができます.たとえば,周波数を下げると,地形が山ではなく丘のように見えます.
スカラーによるワープ#
ここでは,スカラーによってワープして,Perlinノイズの値に基づいて地表に高さを与えます.これは地表のシェイプに必要です.
mesh = sampled.warp_by_scalar('scalars')
mesh = mesh.extract_surface()

# clean and smooth a little to reduce Perlin noise artifacts
mesh = mesh.smooth(n_iter=100, inplace=False, relaxation_factor=1)

# This makes the "water" level look flat.
z = mesh.points[:, 2]
diff = z.max() - z.min()

# water level at 70%  (change this to change the water level)
water_percent = 0.7
water_level = z.max() - water_percent * diff
mesh.points[z < water_level, 2] = water_level
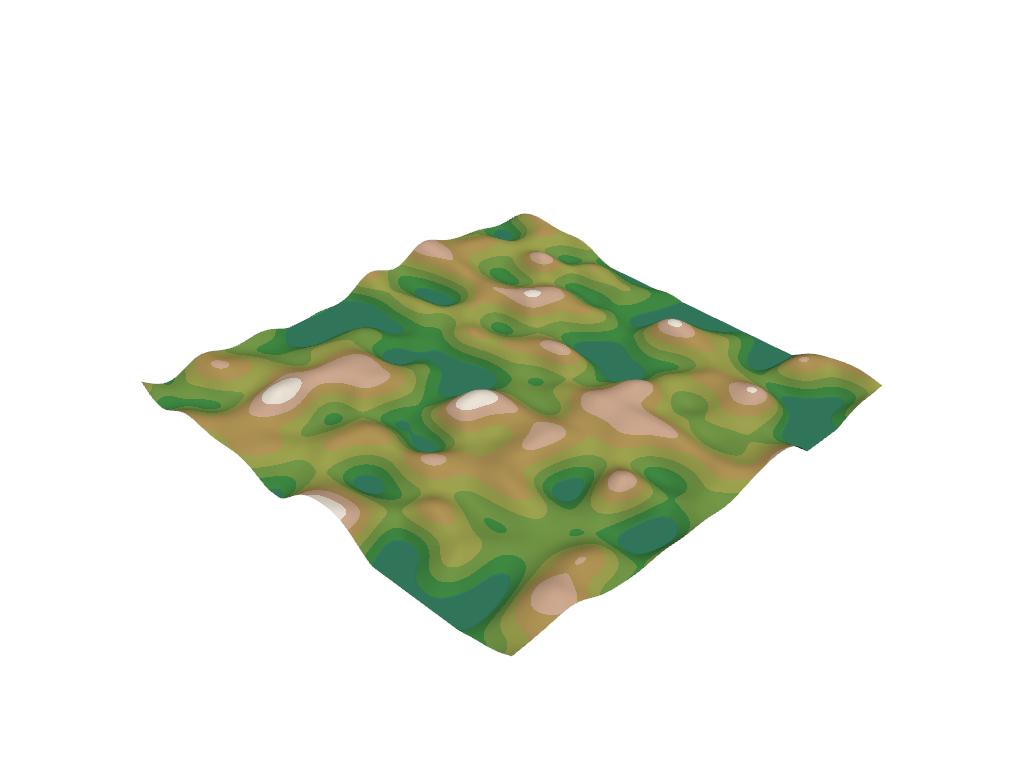
等高線プロットとして地形を表示します
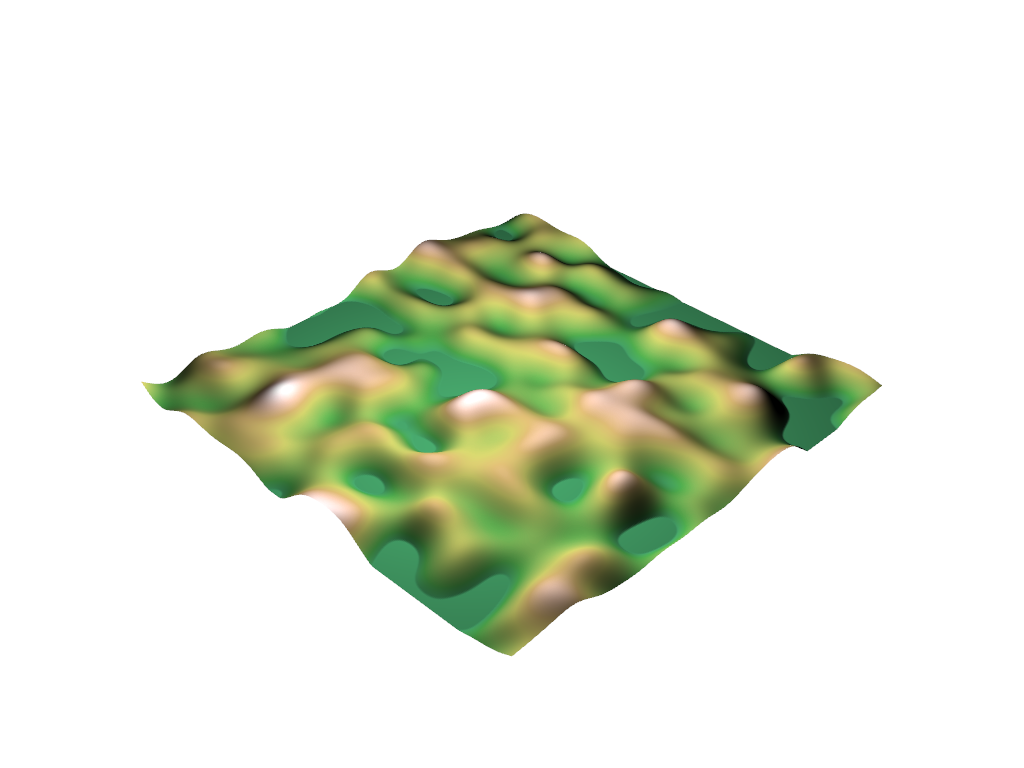
カスタムのライトとシャドウを使用して地表を表示する
pl = pv.Plotter(lighting=None)
pl.add_light(pv.Light((3, 1, 0.5), show_actor=True, positional=True, cone_angle=90, intensity=1.2))
pl.add_mesh(mesh, cmap='gist_earth', show_scalar_bar=False, smooth_shading=True, clim=clim)
pl.enable_shadows = True
pl.show()
Total running time of the script: (0 minutes 5.979 seconds)