注釈
Go to the end to download the full example code.
メッシュ上の点の選択#
この例では, enable_point_picking() を使って,メッシュ上のポイントをピックする方法を示します.
from __future__ import annotations

import pyvista as pv
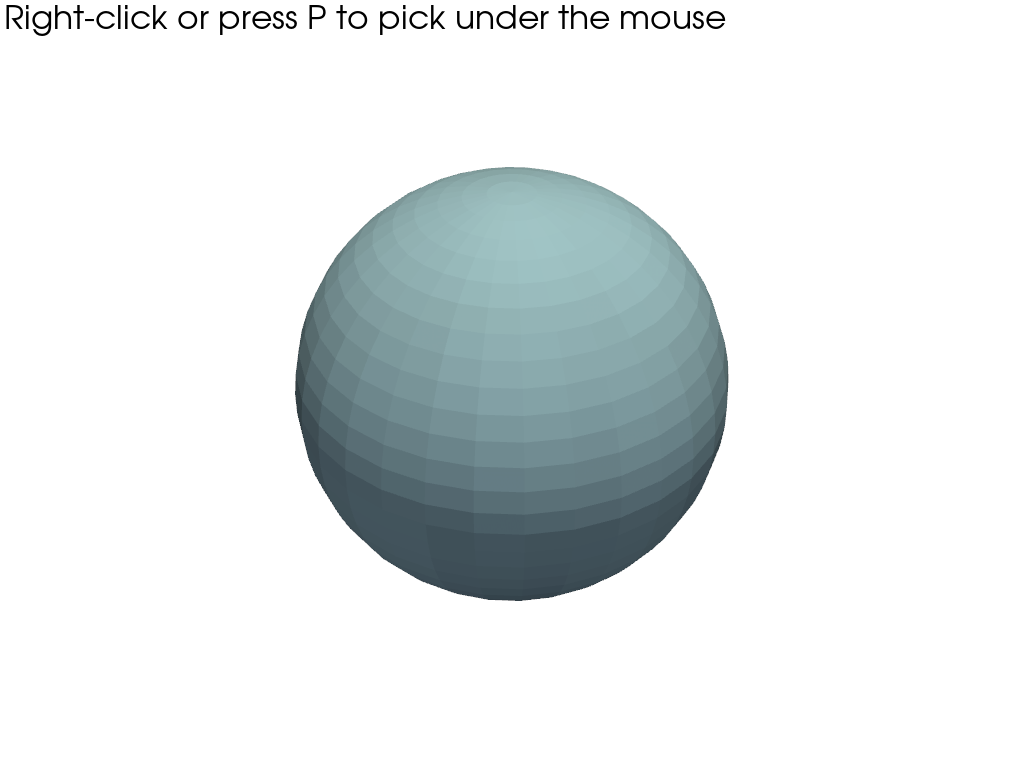
球面上の点を選択#
sphere = pv.Sphere()

p = pv.Plotter()
p.add_mesh(sphere, pickable=True)
p.enable_point_picking()
p.show()

3Dウィンドウを無視#
上の例では,メッシュ上の点と3dウィンドウ内の点の両方を選択することができます.メッシュ上の点だけを選択することも可能です.
sphere = pv.Sphere()

p = pv.Plotter()
p.add_mesh(sphere, pickable=True)
p.enable_point_picking(pickable_window=False)  # Make the 3D window unpickable
p.show()
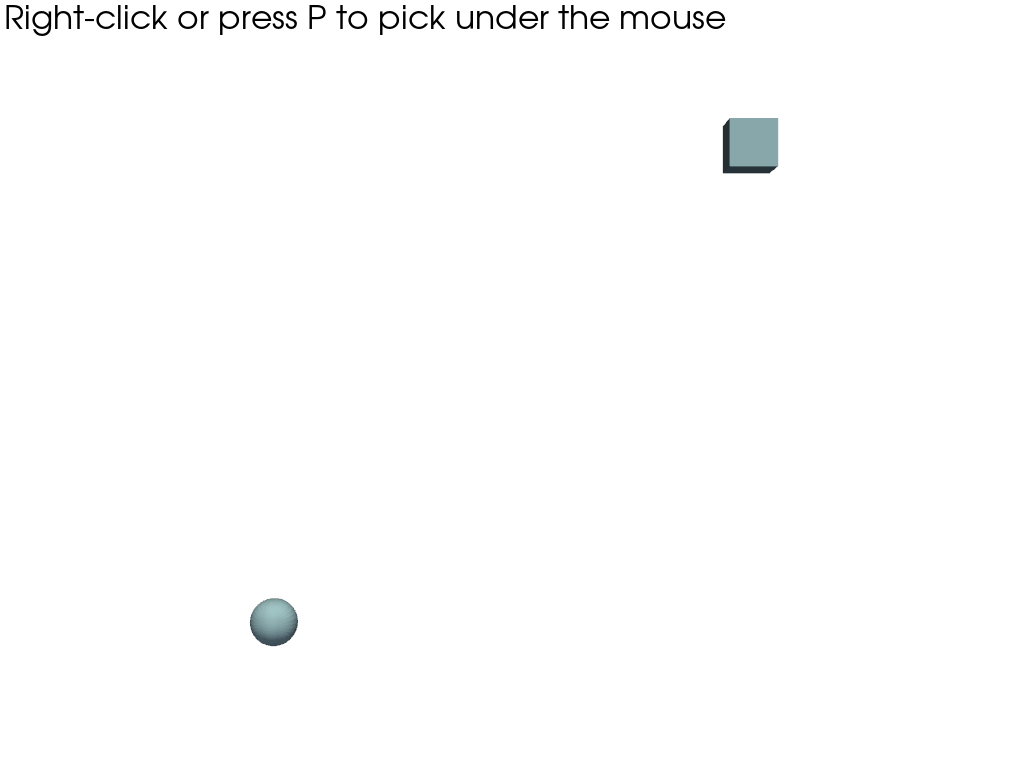
ピックアップ可能なアクターの変更#
ポイントピッキングを有効にした後,どのアクターがピッキング可能かを変更することができます.
sphere = pv.Sphere()
cube = pv.Cube().translate([10, 10, 0])

p = pv.Plotter()
sphere_actor = p.add_mesh(sphere, pickable=True)  # initially pickable
cube_actor = p.add_mesh(cube, pickable=False)  # initially unpickable
p.enable_point_picking(pickable_window=False)

p.pickable_actors = [sphere_actor, cube_actor]  # now both are pickable
p.view_xy()
p.show()
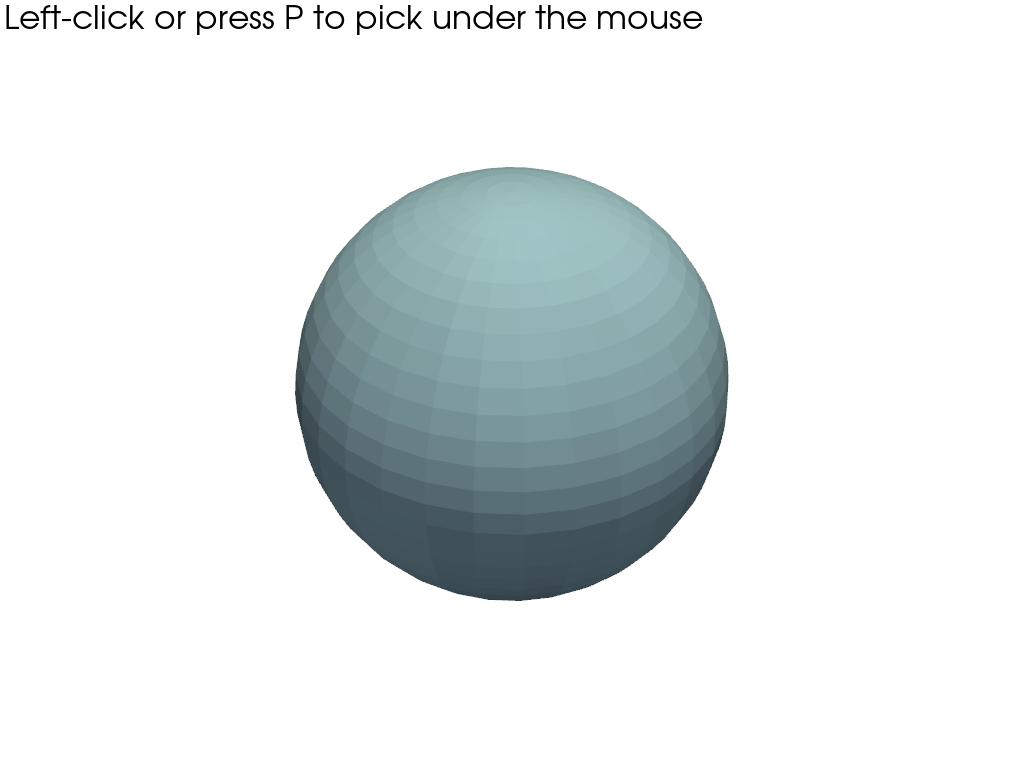
マウスの左ボタンでピックします#
sphere = pv.Sphere()

p = pv.Plotter()
p.add_mesh(sphere, pickable=True)
p.enable_point_picking(left_clicking=True)
p.show()
Total running time of the script: (0 minutes 0.953 seconds)