Sphinx PyVista Plot ディレクティブ#
Sphinxを使ってドキュメントを作成する際に,以下の内容を conf.py に追加することで, .. pyvista-plot:: ディレクティブを使用して,pyvistaのプロットの静的なシーンとインタラクティブなシーンを生成することができます.
extensions = [
    "pyvista.ext.plot_directive",
    "pyvista.ext.viewer_directive",
    "sphinx_design",
]
そうすれば,sphinxのドキュメントファイルの中で,plottingディレクティブを発行することができます:
.. pyvista-plot::
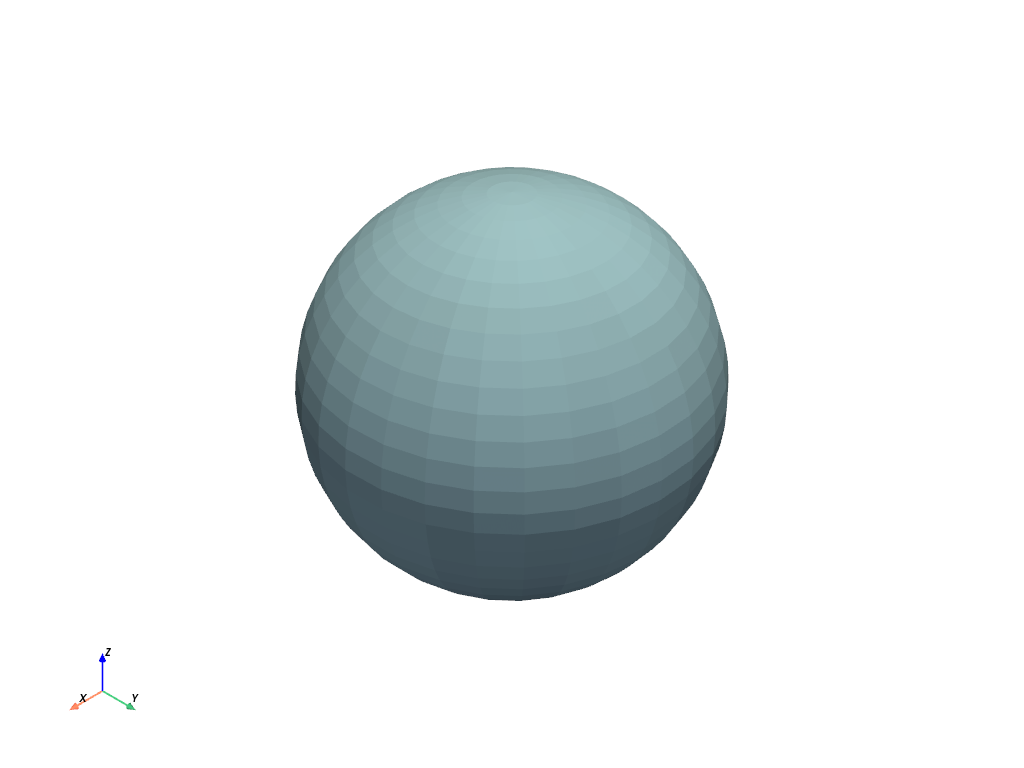
   :caption: This is a default sphere
   :include-source: True

   >>> import pyvista
   >>> sphere = pyvista.Sphere()
   >>> out = sphere.plot()
以下のように表示されます.
>>> import pyvista
>>> sphere = pyvista.Sphere()
>>> out = sphere.plot()

これはデフォルトの球体
注釈
You need to install the following packages to build the interactive scene:
pip install 'pyvista[jupyter]' sphinx sphinx_design
注釈
ドキュメントのインタラクティブなシーンを見るには、ローカルサーバーを立ち上げる必要があります。
python -m http.server 11000 --directory _build/html
Complete Example#
The following is a script to build documentation with interactive plots from scratch. The script will:
Create a new virtual environment and install dependencies
Create the files required for a simple documentation build:
Sphinx configuration file
doc/src/conf.pywith extensionsSource file
doc/src/example.pywith a simple plot directive exampleIndex file
doc/src/index.rstfor site navigation
Build the documentation
Start a local server
You can copy and paste the script directly into a terminal and execute it.
Once the documentation is built, you should be able to view it with a web
browser by navigating to http://localhost:11000.
# Setup a new virtual environment and activate it
python -m venv .venv
emulate bash -c '. .venv/bin/activate'

# Install dependencies for the build
pip install 'pyvista[jupyter]' sphinx sphinx_design

# Create new `doc/src` directory
mkdir doc
cd doc
mkdir src

# Create a simple python module and include an example
# in the docstring using the plot directive.
cat > src/example.py <<EOF

def foo():
    """Some function.

    .. pyvista-plot::

        >>> import pyvista as pv
        >>> mesh = pv.Sphere()
        >>> mesh.plot()
    """

EOF

# Create the configuration file with the required extensions.
# Here we also include `autodoc` for the example.
cat > src/conf.py <<EOF
import os, sys

sys.path.insert(0, os.path.abspath("."))

extensions = [
    "sphinx.ext.autodoc",
    "pyvista.ext.plot_directive",
    "pyvista.ext.viewer_directive",
    "sphinx_design",
]
EOF

# Create the index for the documentation
cat > src/index.rst <<EOF
API Reference
=============

.. automodule:: example
    :members:
    :undoc-members:
EOF

# Build the documentation
sphinx-build -b html src _build/html

# Start a local server for the interactive scene
python -m http.server 11000 --directory _build/html
APIリファレンス#
プロットディレクティブモジュール.
A directive for including a PyVista plot in a Sphinx document.
.. pyvista-plot:: ディレクティブは,インラインの .png イメージを含みます.
プロットのソースコードは,次の2つの方法のいずれかで含まれます.
doctest 構文を使用しています.
.. pyvista-plot::

   >>> import pyvista as pv
   >>> sphere = pv.Sphere()
   >>> out = sphere.plot()
ソースファイルへのパス を directive の引数として指定します:
.. pyvista-plot:: path/to/plot.py
ソースファイルへのパスが与えられている場合,ディレクティブの内容には,オプションでプロットのキャプションを含めることができます:
.. pyvista-plot:: path/to/plot.py

   The plot's caption.
さらに,モジュールをインポートした直後に,(引数なしで)呼び出す関数の名前を指定することもできます.
.. pyvista-plot:: path/to/plot.py plot_function1
注釈
doctest:+SKIP を含むコードブロックはスキップされます.
注釈
アニメーションは保存されず,最後のフレームのみが表示されます.
Options `pyvista-plot ディレクティブは,以下のオプションをサポートしています.
- include-sourcebool
Whether to display the source code. The default can be changed using the
plot_include_sourcevariable inconf.py.- encodingstr
もし,このソースファイルがUTF8やASCII以外のエンコーディングである場合には,
:encoding:オプションを使ってエンコーディングを指定しなければなりません. このエンコーディングは-*- coding -*-メタコメントを使って推測されることはありません.- contextNone
このオプションが指定された場合,コードは
:context:オプションが指定された以前のすべてのプロットディレクティブのコンテクストで実行されます. これはインラインコードのプロットディレクティブにのみ適用され,ファイルから実行されるものには適用されません.- nofigsNone
When setting this flag, the code block will be run but no figures will be inserted. This is usually useful with the
:context:option.- captionstr
指定された場合,オプションの引数が図のキャプションとして使用されます.これは,ファイルからプロットが生成された場合,コンテンツで与えられたキャプションを上書きします.
- force_staticNone
When setting this flag, static images will be used instead of an interactive scene.
- skipbool, default: True
Whether to skip execution of this directive. If no argument is provided i.e.,
:skip:, then it defaults to:skip: true. Default behaviour is controlled by theplot_skipboolean variable inconf.py. Note that, if specified, this option overrides theplot_skipconfiguration.- optionalNone
This flag marks the directive for conditional execution. Whether the directive is executed is controlled by the
plot_skip_optionalboolean variable inconf.py.
Additionally, this directive supports all the options of the image directive, except for target (since plot will add its own target). These include alt, height, width, scale, align.
Configuration options plotディレクティブには,以下の設定項目があります.
- plot_include_sourcebool, default: True
Default value for the
include-sourcedirective option. Default isTrue.- plot_basedirstr
ベースとなるディレクトリで,
plot::のファイル名の相対パスを指定します.Noneまたは未設定の場合には,ファイル名はそのディレクティブを含むファイルがあるディレクトリに相対します.- plot_html_show_formatsbool, default: True
ファイルへのリンクをHTMLで表示するかどうか.デフォルトは
True.- plot_templatestr
再構成されたテキストを作成するためのカスタマイズされた Jinja2 テンプレートを提供します.
- plot_setupstr
各プロットディレクティブブロックの前に実行されるPythonコード.
- plot_cleanupstr
各プロットディレクティブブロックの後に実行されるPythonコード.
- plot_skipbool, default: False
Default value for the
skipdirective option.- plot_skip_optionalbool, default: False
Whether to skip execution of
optionaldirectives.
これらのオプションは, conf.py で同名のグローバル変数を定義することで設定できます.