注釈
Go to the end をクリックすると完全なサンプルコードをダウンロードできます.
コンタリング#
サーフェスまたはボリュームのスカラー用にアイソラインまたはサーフェスを生成します.
3 Dメッシュはスカラーフィールドの2 D等値面を抽出することができ,2 Dサーフェスメッシュはスカラーフィールドの1 D等値線を抽出することができます.
from __future__ import annotations

import numpy as np

import pyvista as pv
from pyvista import examples
等値線#
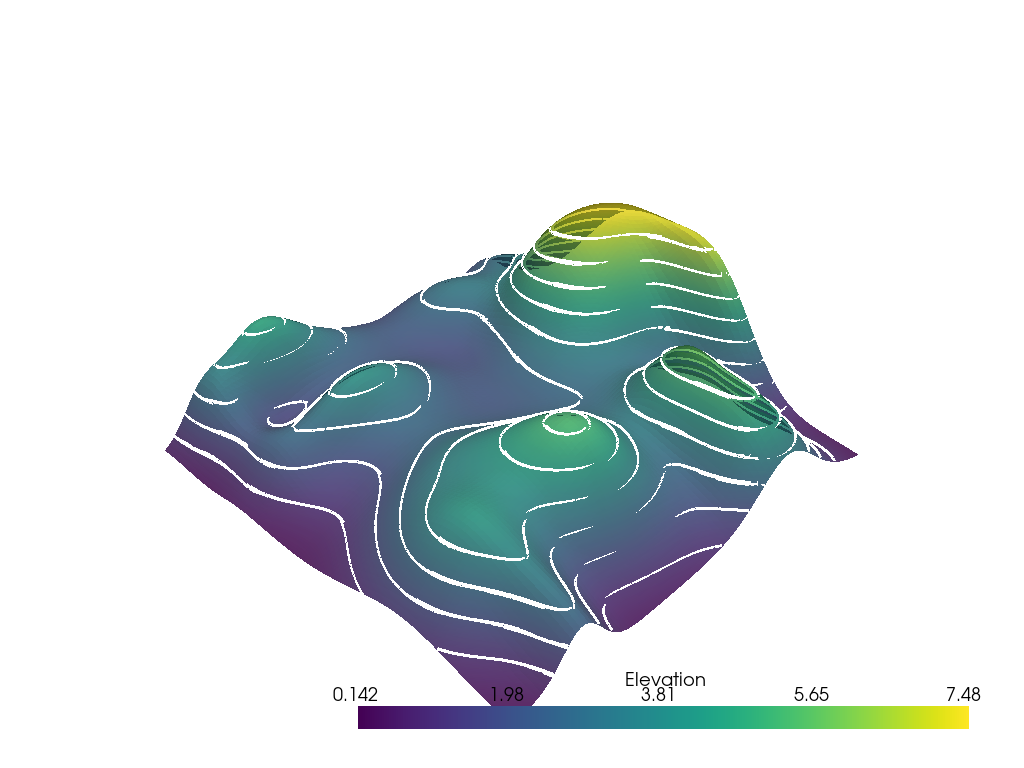
2 Dサーフェスメッシュからスカラーフィールドの1 D等値線を抽出します.
mesh = examples.load_random_hills()

contours = mesh.contour()

pl = pv.Plotter()
pl.add_mesh(mesh, opacity=0.85)
pl.add_mesh(contours, color='white', line_width=5)
pl.show()

等値面#
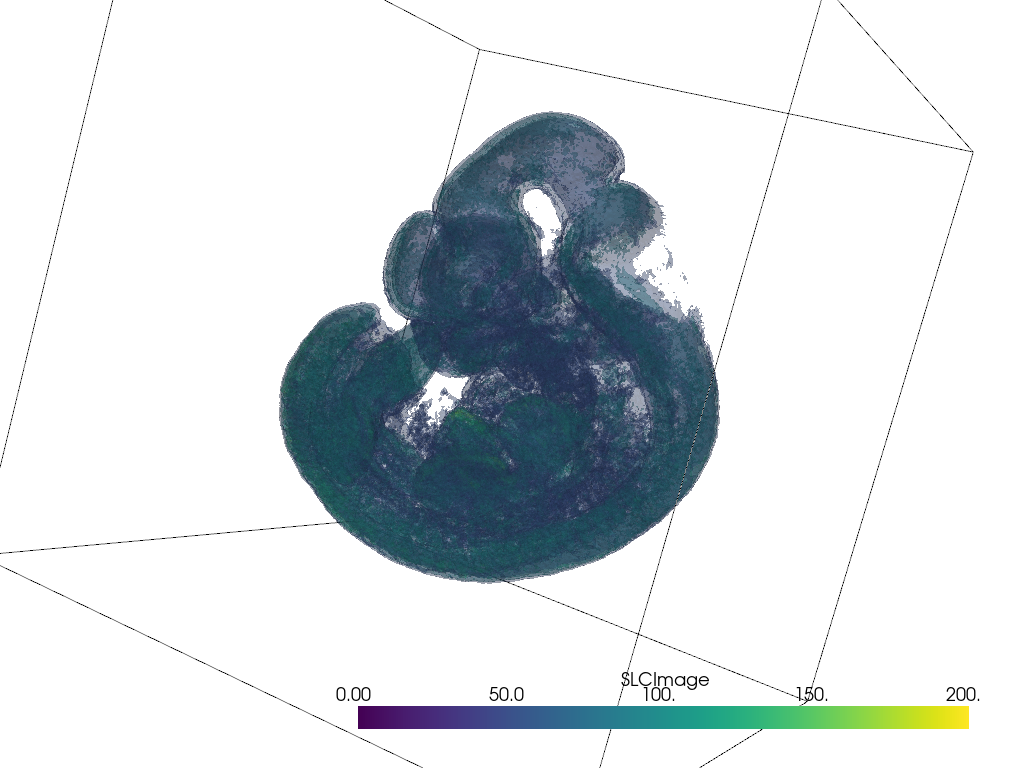
3 Dメッシュからスカラーフィールドの2 D等値面を抽出してみましょう.
mesh = examples.download_embryo()

contours = mesh.contour(np.linspace(50, 200, 5))

pl = pv.Plotter()
pl.add_mesh(mesh.outline(), color='k')
pl.add_mesh(contours, opacity=0.25, clim=[0, 200])
pl.camera_position = [
    (-130.99381142132086, 644.4868354828589, 163.80447435848686),
    (125.21748748157661, 123.94368717158413, 108.83283586619626),
    (0.2780372840777734, 0.03547871361794171, 0.9599148553609699),
]
pl.show()

縞模様のコンター#
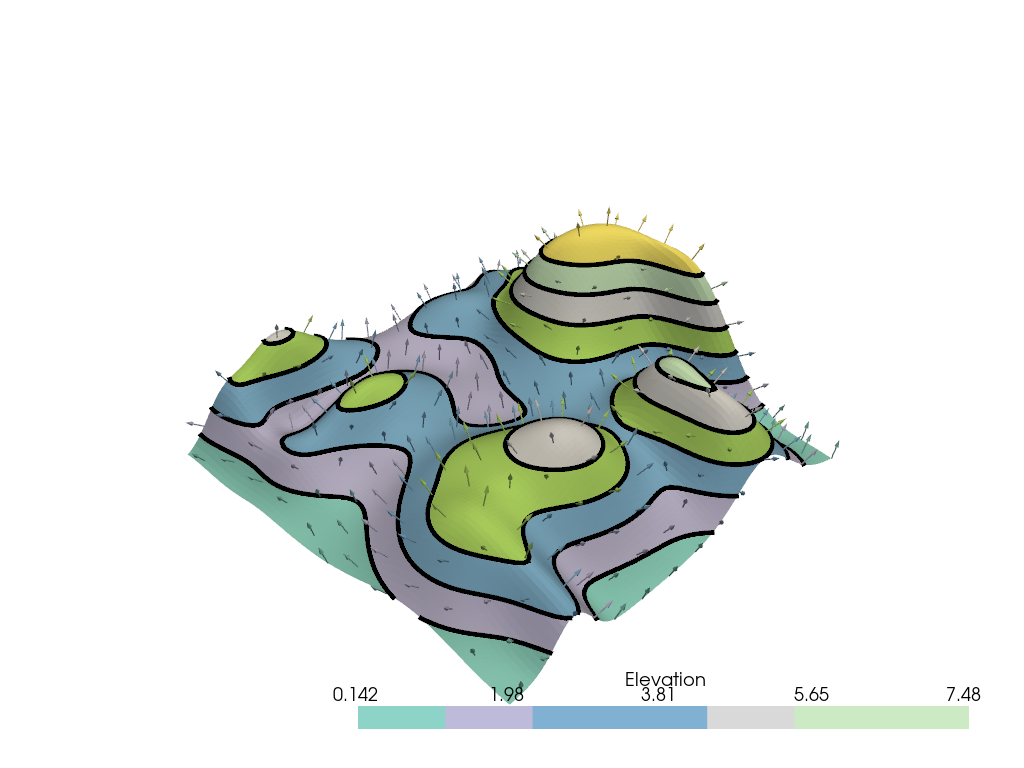
Create banded contours for surface meshes using contour_banded().
mesh = examples.load_random_hills()
コンター数を設定し,メッシュとラインを生成する
n_contours = 8
contours, edges = mesh.contour_banded(n_contours)
また,法線ベクトルを作ります
arrows = mesh.glyph(scale='Normals', orient='Normals', tolerance=0.05)
# Common display arguments
dargs = dict(scalars='Elevation', n_colors=n_contours - 1, cmap='Set3')

pl = pv.Plotter()
pl.add_mesh(edges, line_width=5, render_lines_as_tubes=True, color='k')
pl.add_mesh(contours, **dargs)
pl.add_mesh(arrows, **dargs)
pl.show()

ラベルマップのコンター#
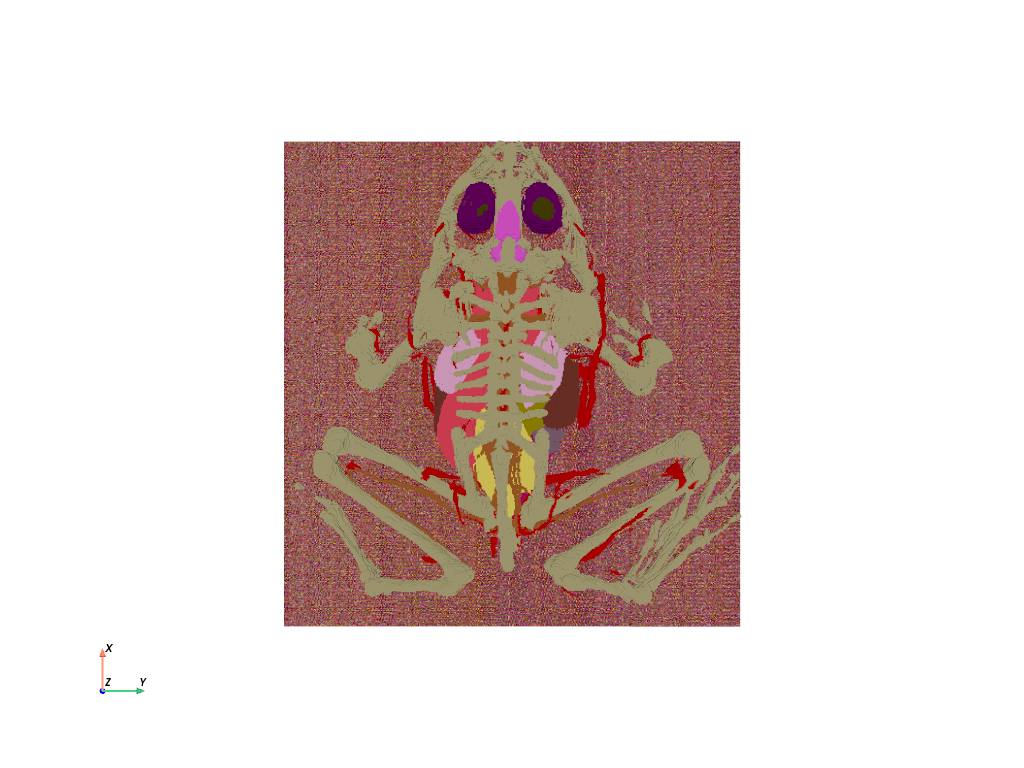
Create labeled surfaces from 3D label maps (e.f. multi-label image segmentation)
using contour_labels().
Requires VTK version 9.3
if pv.vtk_version_info >= (9, 3):
    label_map = pv.examples.load_frog_tissues()
    mesh = label_map.contour_labels()
    mesh.plot(cmap='glasbey', cpos='yx', categories=True)

Total running time of the script: (0 minutes 23.447 seconds)