注釈
完全なサンプルコードをダウンロードしたり、Binderを使ってブラウザでこのサンプルを実行するには、 最後に進んでください 。
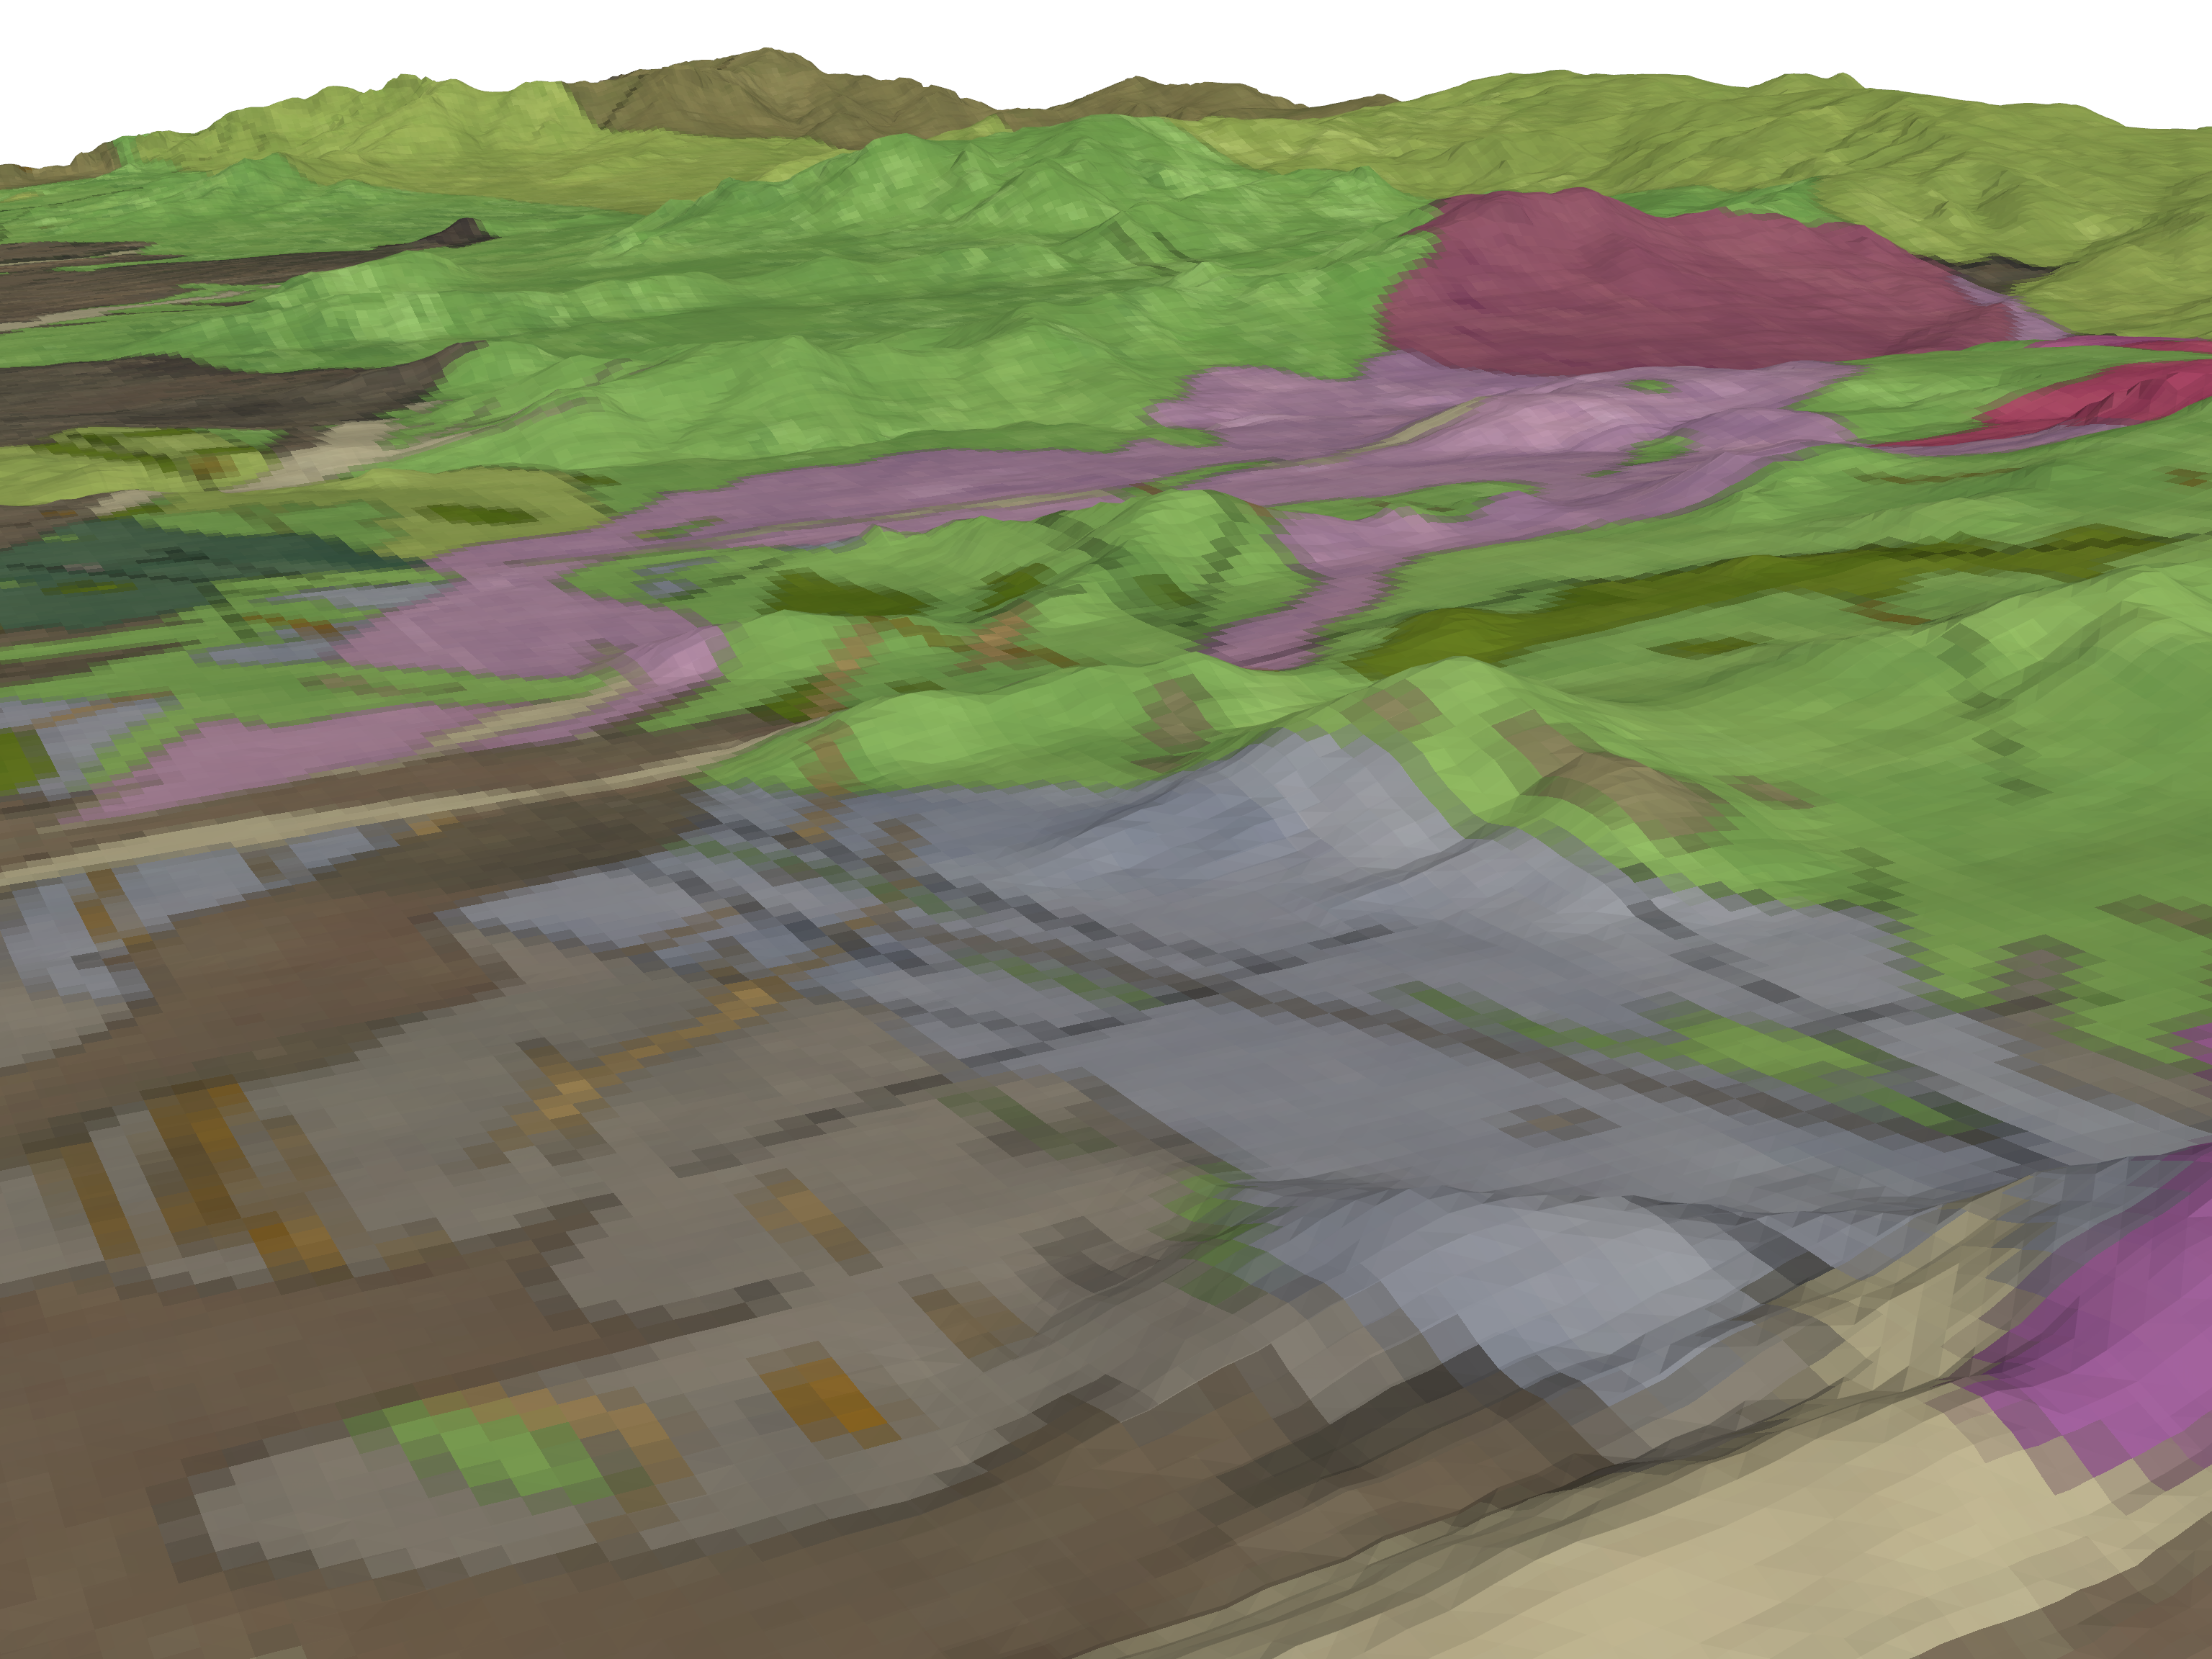
地形上の地質図#
地形面上のGeoTIFFのテクスチャマッピング.
GeoTIFFから地形に画像や地図を重ね合わせるためには,テクスチャ(GeoTIFF)を貼り付けたいメッシュや地形の延長線上にテクスチャ座標(「テクスチャマッピング」)が一致する必要があるのです.
これは,GeoTIFF 自体の空間リファレンスを使用することで,イメージのない部分を切り取ることなく,テクスチャがドレープされているメッシュ全体を保持することができるからです.この例では,テクスチャが地形サーフェス上に伸びるように明示的に設定し,テクスチャ/GeoTIFF が地形サーフェスよりはるかに大きな範囲を持つようにしています.
原文はこちら: pyvista/pyvista-support#14
import os
import tempfile

import numpy as np
import pyvista as pv
import requests
from pyvista import examples

try:
    import rasterio
except ImportError:
    rasterio = None
GeoTIFF/テクスチャを読み込みます(ダウンロードに1分程度かかる場合があります) https://dl.dropbox.com/s/bp9j3fl3wbi0fld/downsampled_Geologic_map_on_air_photo.tif?dl=0
url = "https://dl.dropbox.com/s/bp9j3fl3wbi0fld/downsampled_Geologic_map_on_air_photo.tif?dl=0"

response = requests.get(url)  # noqa: S113
filename = os.path.join(tempfile.gettempdir(), "downsampled_Geologic_map_on_air_photo.tif")  # noqa: PTH118
open(filename, "wb").write(response.content)  # noqa: SIM115, PTH123
8175934
以下のブロックでは, get_gcps 関数を使用してラスターの Ground Control Point を取得することができますが,これは GDAL に依存します.このチュートリアルでは,ユーザーがGDALをインストールするのを避けるために,GCPをハードコードするつもりです.
def get_gcps(filename):
    """
    Helper function retrieves the Ground Control
    Points of a GeoTIFF. Note that this requires gdal.
    """
    if rasterio is None:
        msg = "rasterio is required for this function"
        raise ImportError(msg)

    def get_point(gcp):
        return np.array([gcp.x, gcp.y, gcp.z])

    # Load a raster
    src = rasterio.open(filename)
    # Grab the Groung Control Points
    points = np.array([get_point(gcp) for gcp in src.gcps[0]])
    # Now Grab the three corners of their bounding box
    # -- This guarantees we grab the right points
    bounds = pv.PolyData(points).bounds
    origin = [bounds[0], bounds[2], bounds[4]]  # BOTTOM LEFT CORNER
    point_u = [bounds[1], bounds[2], bounds[4]]  # BOTTOM RIGHT CORNER
    point_v = [bounds[0], bounds[3], bounds[4]]  # TOP LEFT CORNER
    return origin, point_u, point_v
# Use the GCPs to map the texture coordinates onto the topography surface
topo.texture_map_to_plane(origin, point_u, point_v, inplace=True)
/home/runner/work/pyvista-tutorial-ja/pyvista-tutorial-ja/pyvista-tutorial-translations/pyvista-tutorial/tutorial/03_figures/c_geological-map.py:88: PyVistaDeprecationWarning:
c_geological-map.py:88: Arguments 'origin', 'point_u', 'point_v' must be passed as keyword arguments to function 'DataSetFilters.texture_map_to_plane'.
From version 0.50, passing these as positional arguments will result in a TypeError.
  topo.texture_map_to_plane(origin, point_u, point_v, inplace=True)
GCPをトポサーフェスに関連づけ,テクスチャ座標を表示する
pl = pv.Plotter()
pl.add_point_labels(
    np.array(
        [
            origin,
            point_u,
            point_v,
        ]
    ),
    ["Origin", "Point U", "Point V"],
    point_size=5,
)

pl.add_mesh(topo)
pl.show(cpos="xy")

GeoTIFFをPyVistaで Texture として読み込みます:
texture = pv.read_texture(filename)

# Now plot the topo surface with the texture draped over it
# And make window size large for a high-res screenshot
pl = pv.Plotter(window_size=np.array([1024, 768]) * 3)
pl.add_mesh(topo, texture=texture)
pl.camera_position = [
    (337461.4124956896, 4257141.430658634, 2738.4956020899253),
    (339000.40935731295, 4260394.940646875, 1724.0720826501868),
    (0.10526647627366331, 0.2502863297360612, 0.962432190920575),
]
pl.show()
Total running time of the script: (0 minutes 14.870 seconds)