注釈
完全なサンプルコードをダウンロードしたり、Binderを使ってブラウザでこのサンプルを実行するには、 最後に進んでください 。
シェーディングのタイプ#
デフォルトのフラットシェーディングとスムーズシェーディングの比較.
import pyvista as pv
from pyvista import examples
PyVistaは,VTKのPhongシェーディングアルゴリズムを使用したフラットシェーディングとスムースシェーディングの2種類のシェーディングをサポートしています.
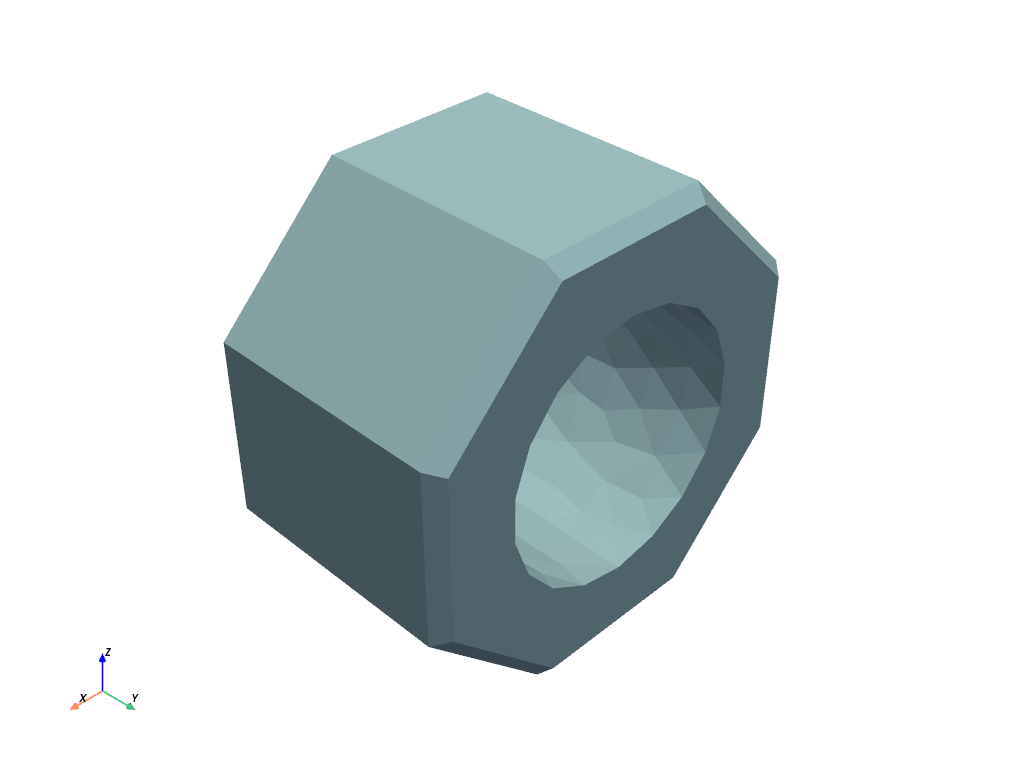
これは,デフォルトのフラットシェーディングを使ったプロットです.
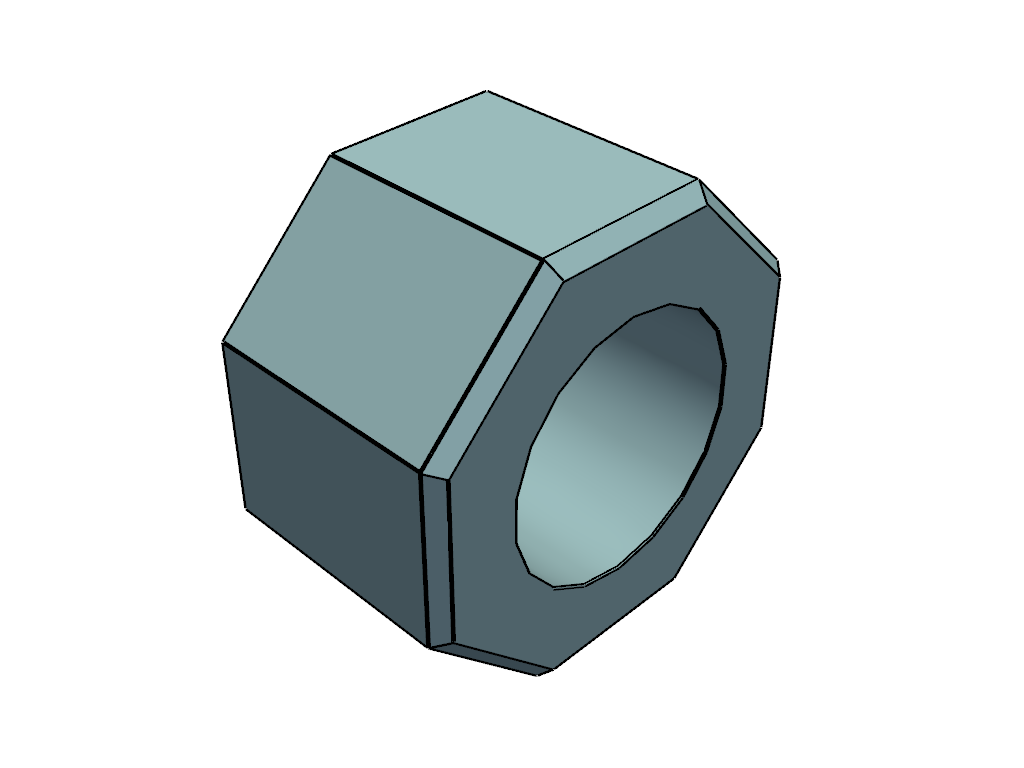
同じ球体にスムースシェーディングを施したものがこちらです.
mesh.plot(smooth_shading=True)

スムーズシェーディングによって,シャープであるべきエッジが奇妙に見えることに注意してください.これは,これらの法線のポイントが,鋭い角度を持つ2つの面の間で平均化されるためです. これを避けるには split_sharp_edges を有効にします.
注釈
オプションの feature_angle キーワード引数で分割角度を構成することができます.
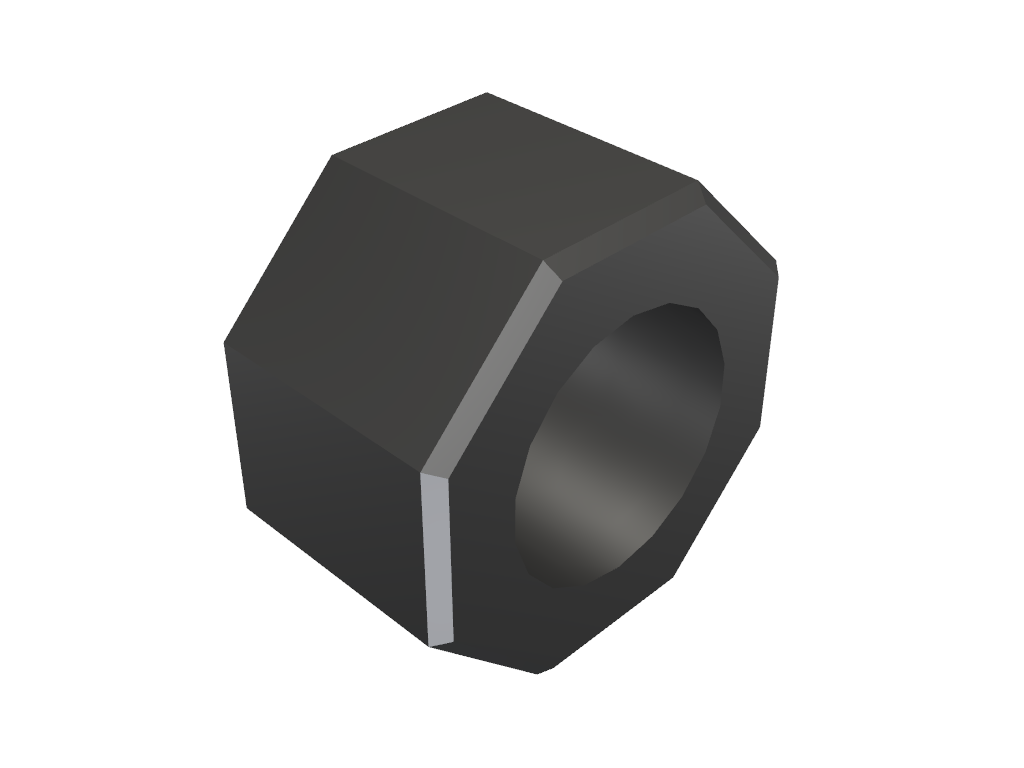
mesh.plot(smooth_shading=True, split_sharp_edges=True)

extract_feature_edges を使って,分割されるエッジをプロットすることもできます.
# extract the feature edges exceeding 30 degrees
edges = mesh.extract_feature_edges(
    boundary_edges=False, non_manifold_edges=False, feature_angle=30, manifold_edges=False
)

# plot both the edges and the smoothed mesh
pl = pv.Plotter()
# pl.enable_anti_aliasing()
pl.add_mesh(mesh, smooth_shading=True, split_sharp_edges=True)
pl.add_mesh(edges, color="k", line_width=5)
pl.show()
キーワード引数の split_sharp_edges は,物理ベースのレンダリングにも対応しています.
# plot both the edges and the smoothed mesh
pl = pv.Plotter()
# pl.enable_anti_aliasing()
pl.add_mesh(mesh, color="w", split_sharp_edges=True, pbr=True, metallic=1.0, roughness=0.5)
pl.show()
Total running time of the script: (0 minutes 1.422 seconds)